Make Non Dairy Yoghurt at Home Easily
Discover how to make non dairy yoghurt at home with our simple instructions. Explore various flavor variations and enjoy a delicious, dairy free alternative for a healthier lifestyle. Start your journey to homemade yoghurt today!
Non-dairy yoghurt has become increasingly popular among health-conscious people and those with dietary restrictions. Unlike traditional yoghurt made from cows milk, non-dairy yoghurt is crafted from plant-based milk alternatives. Home made plant-based yoghurt is cost-effective, preservative free and less waste-producing than store-bought versions.
Which plant based milk to choose,
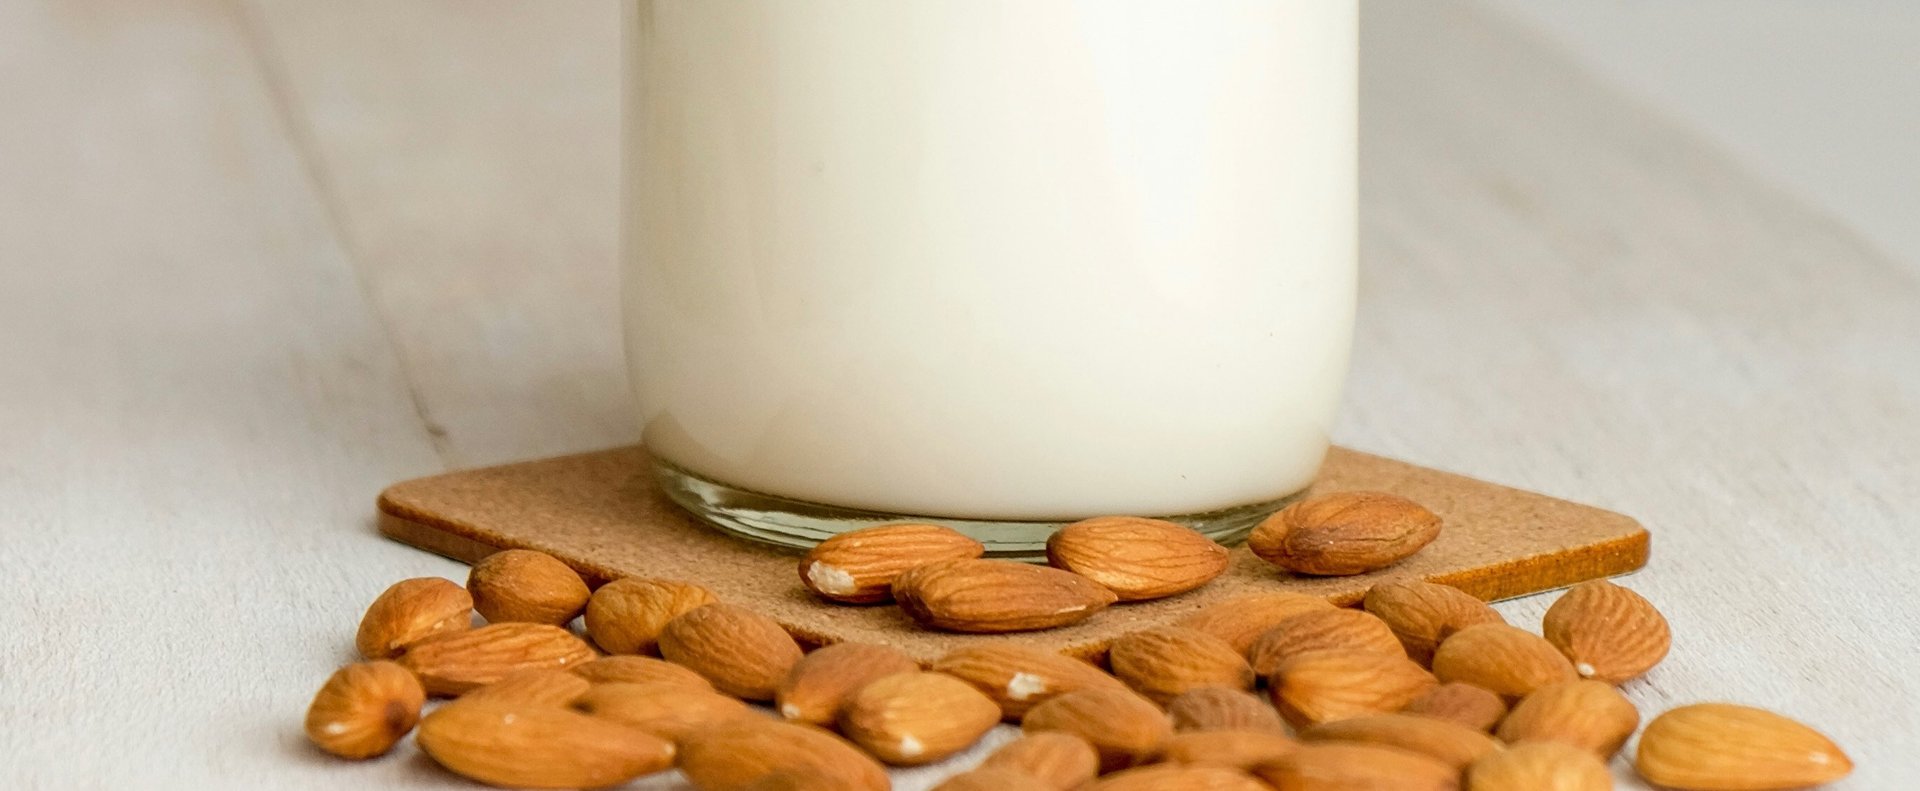
There are many types of plant-based milk that can be used, each with its own charecteristics. Almond milk, offers a light and slightly nutty flavour, soy milk provides a creamier texture and a more neutral taste. Cashew and coconut milks are known for their smooth and creamy consistency. Tiger nut (really a legume) is a popular drink in Spain and is slightly sweet and nutty, making a very good yoghurt. By making your own yoghurt, you have the flexibility to choose your preferred milk base, allowing you to tailor the final product to your taste, texture and dietary needs.
Starter culture
A starter culture, which contains live beneficial bacteria, is essential for fermenting plant based milks, transforming it into yoghurt. Introducing the culture to the milk is called inoculation, the technique is the same as for making cows milk yoghurt. To inoculate the milk, a starter culture is used. This can be a commercial freeze-dried culture, a store bought non-dairy yoghurt with live bacteria or a few spoons from your last batch.
Making the non-dairy milk yoghurt set
Plant-based milks don't have the same proteins, sugars and fats as animal milks, so the yoghurt will not set the same way. Whilst it will still be a cultured food and great to eat, it needs help to set like a dairy milk yoghurt. A thickening agent needs to be added before the plant-based milk is heated and fermented. Natural agents such as agar-agar (red-algae), tapioca starch (cassava root), arrowroot starch, corn starch or gelatine can be used to achieve a good set. The manufacturer's instruction and quantities need to be followed.
Method
The plant-based milk needs to be heated to kill any bacteria present that would compete with the yoghurt culture, spoiling the yoghurt.
Start by pouring the milk into a saucepan then add the thickener of your choice. Whisk well until there are no visible lumps.
An example would be 2 cups of non-dairy milk with 1 tablespoon of corn starch added.
Heat while whisking until it reaches 82 C.
Leave to cool whisking occasionally, until it reaches 42°C. This cooling period is essential to prevent the heat from killing the bacteria in the starter culture. The bacteria are killed if the temperature rises above 45°C.
Take a few spoons of the warm milk and transfer to a clean cup, then add the culture, mixing until smooth. If using a freeze-dried culture, add 1/4 of a teaspoon of freeze-dried culture, or add 2 tablespoons of yoghurt from your last batch, or some store bought yoghurt containing living bacteria.
Don't be tempted to add more, the right balance of bacteria will struggle to survive due to the competition for food.
When mixed until smooth, return the contents of the cup to the saucepan, stirring thoroughly to ensure an even distribution of the culture through the milk. Pour the cultured milk into a clean food-safe container and cover loosely, then leave to ferment in a warm place for 8 to 12 hours. Maintaining the right temperature for fermentation is essential for successful yoghurt making.
Maintaining the right temperature
A fermentation temperature of 35°C to 45°C needs to be maintained, with 42°C being the ideal temperature. Above 45°C, the bacteria are killed, below 35°C fermentation is very weak. If you don't have a yoghurt maker, the fermentation can take place in an insulated lunch cooler filled with warm water. A slow cooker or proofing oven with a low setting can be used, or wrapped in a blanket and left in a warm spot.
Leave undisturbed for 8 to 12 hours, checking occasionally - it could take longer if it isn't very warm. When it has set, place the container in the fridge to stop the fermentation. Remember to set aside 2 spoons of yoghurt to make your next batch and make a new batch every week to keep the culture alive and strong. Home-made non-dairy yoghurt can be stored in the fridge for up to 2 weeks.
Troubleshooting
If some separation occurs after it's kept in the fridge for a while, simply stir the liquid back in to recombine. A lack of tanginess can be remedied by extending the incubation time, and giving it a little bit more warmth. If the yoghurt is too thin, add more of the setting agent in the next batch.
Flavouring non-dairy yoghurt
Adding sweeteners to the yoghurt can give the bacteria a little boost. Add to the milk before heating - just a spoon full adds sweetness without changing the flavour too much. You can add maple syrup, agave nectar, date paste, honey or simply sugar.
Taradale, Victoria. Australia 3447